10 Handwoven Textile Living Room Ideas
Designing a warm and inviting communal space relies heavily on the thoughtful integration of tactile elements that bring organic character into modern living rooms. This comprehensive guide explores distinct ways to incorporate artisanal fabric creations, woven wall hangings, and floor coverings to elevate your home decor through a carefully planned creative project. Readers will learn how to select natural fibers, balance heavy textures with clean architecture, and execute an easy project that transforms bare walls and empty floor space into captivating visual focal points. This topic is useful because it allows creators to introduce deep cultural richness and acoustic comfort into their environment without undertaking extensive structural renovations or expensive room makeovers. By exploring these concepts, you can easily turn standard architectural layouts into stunning spaces that reflect contemporary design trends while honoring a timeless handmade aesthetic.
Why This Idea Is Trending or Useful
The surge in popularity surrounding artisanal textile displays stems from a collective shift toward creating comforting, tactile environments that counteract overly sterile digital lifestyles. Modern design enthusiasts frequently search for Pinterest ideas that bridge the gap between historical craft techniques and clean minimalist style, resulting in spaces that feel personal and curated. This approach offers immense practical value by allowing homeowners to update their room decor instantly through flexible textile placements rather than permanent architectural changes. The DIY appeal of working with raw natural fibers makes these creative ideas exceptionally accessible for beginners who want to explore weaving, knotting, or fiber arrangement at home. Furthermore, the rich physical texture of woven creations effortlessly softens hard surfaces like glass and concrete, providing versatile decoration options that enhance acoustic quality and aesthetic warmth across any residential layout.
Materials and Preparation
Achieving successful textile installations requires careful planning and the gathering of appropriate tools and supplies before beginning any creative project. Essential items include high-grade natural fibers such as unspun wool roving, organic cotton cord, jute twine, raw silk threads, and sturdy wooden dowels or metal mounting rods. Preparation steps involve measuring your wall space or furniture dimensions accurately, sketching out your intended composition on paper, and organizing your fibers by color, thickness, and texture. Planning considerations include evaluating natural light exposure in the room, ensuring structural wall anchors can support heavier woven pieces, and establishing a cohesive color palette that complements your existing upholstery and flooring. Proper preparation guarantees that your final arrangements maintain structural balance, visual harmony, and a clean, professional finish once mounted or displayed within your primary living space.
Idea 1: Architectural Wool Wall Hanging Display
How to Create
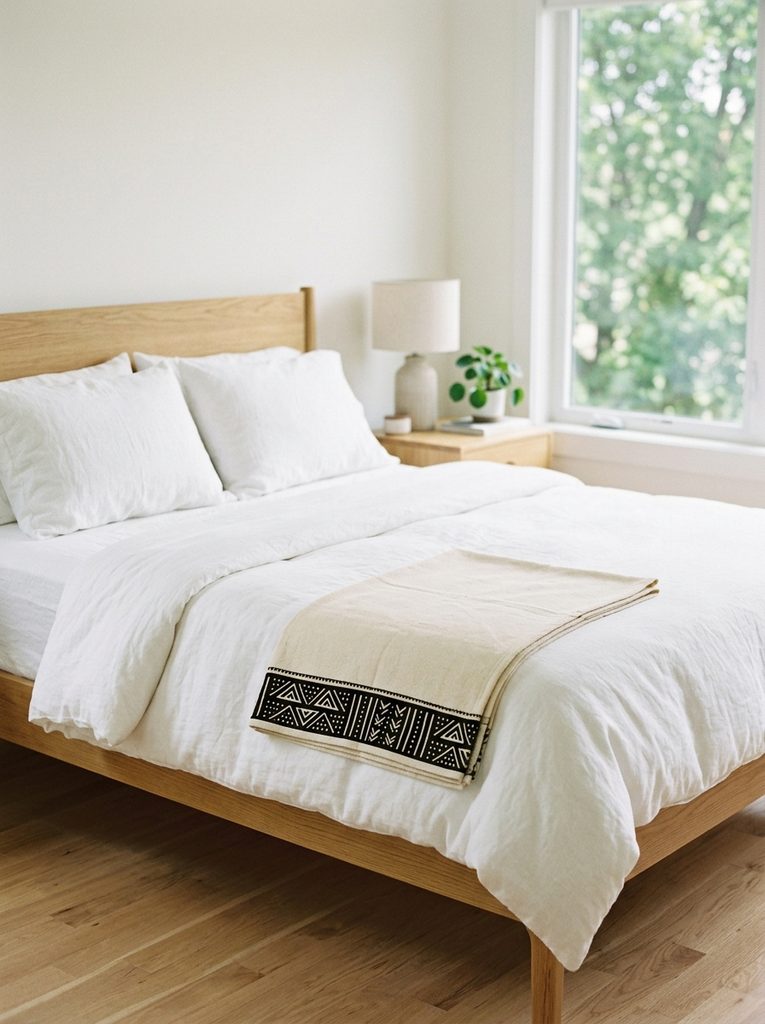
Crafting a large-scale wool wall hanging involves utilizing a heavy wooden branch as a natural loom base to suspend thick rows of unspun merino wool roving. Start by sourcing a clean, cured hardwood branch measuring approximately four feet in length and sanding the surface smooth to protect delicate fibers from snagging. Cut varying lengths of heavy-duty cotton warp thread and tie them securely at equal intervals across the length of the branch using sturdy lark’s head knots. Weave thick strands of cream and charcoal wool roving horizontally through the vertical warp threads in an alternating over-and-under pattern, packing each row tightly for density. Introduce subtle color blocks of muted terracotta or olive green wool near the bottom edge to create an intentional focal point that draws the eye downward. Finish the piece by trimming the bottom fringe to an even, clean line and hanging the entire assembly securely on a living room accent wall using concealed wall anchors. This beginner friendly project adds tremendous acoustic warmth and texture to bare drywall surfaces, establishing an immediate anchor for minimalist style furniture arrangements.
Idea 2: Organic Jute Floor Rug Foundation
How to Create
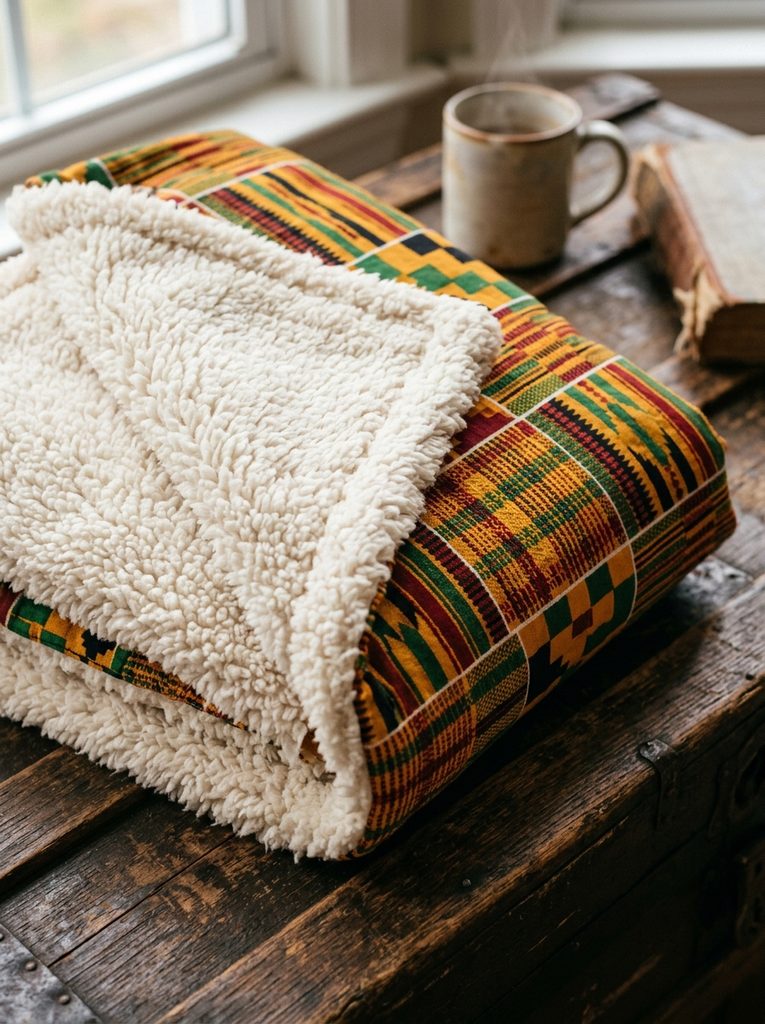
Designing an organic jute floor rug establishes a durable, tactile base layer that anchors surrounding seating groups while introducing rich natural textures to the room. Begin by acquiring a continuous spool of thick braided jute cord and a heavy-duty upholstery needle threaded with robust nylon string matching the natural fiber color. Roll the thick jute cord into a tight central coil on a flat floor surface, securing each successive rotation to the previous ring using hidden whip stitches. Continue expanding the circular coil outward until you reach the desired diameter of four feet, ensuring the tension remains uniform to prevent warping or buckling. For a rectangular alternative, lay parallel lines of braided cord and stitch them tightly side by side, binding the raw end sections with sturdy cotton canvas binding tape. This practical project produces a hard-wearing surface that withstands high daily foot traffic while introducing an earthy, grounded aesthetic that complements neutral soft furnishings and indoor potted plants seamlessly.
You Might Also Like


Idea 3: Textured Cushion Cover Grouping
How to Create
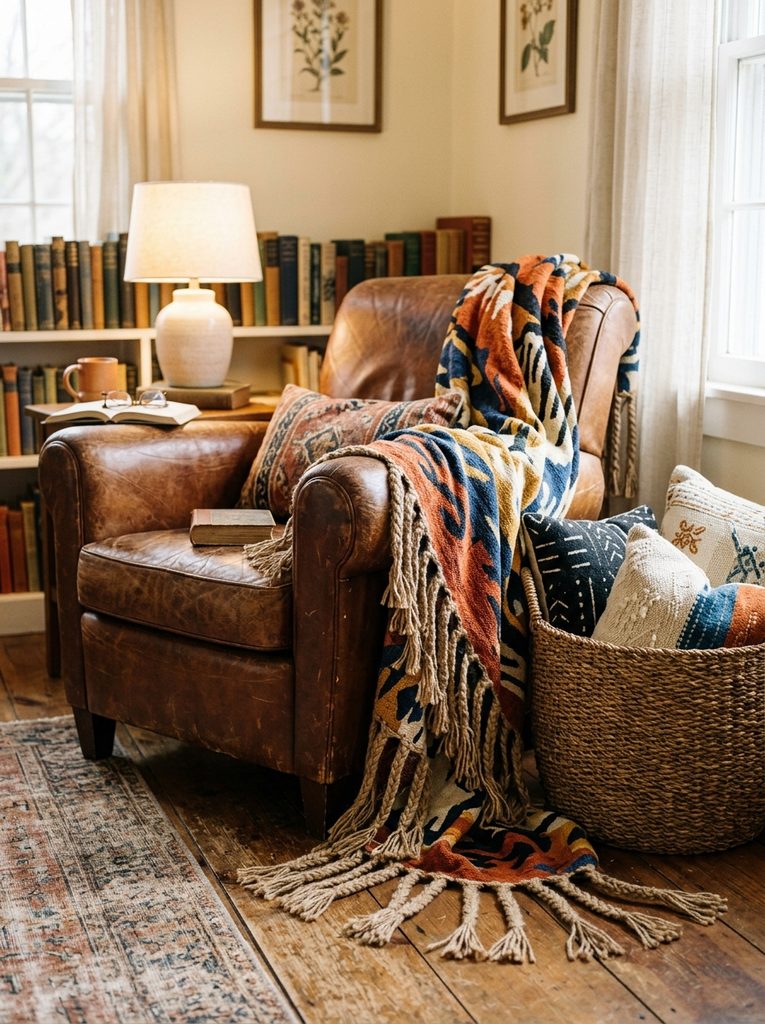
Assembling a collection of textured cushion covers involves combining various weaving techniques like loop stitch and flat weave to refresh existing sofa throw pillows. Cut durable linen-cotton backing panels to match your standard pillow insert dimensions, leaving a half-inch seam allowance around all four outer edges. On the front panels, utilize a latch hook or upholstery needle to loop thick cotton yarn and textured bouclé wool through a sturdy backing mesh. Alternate dense looped sections with smooth plain-weave bands to establish a dynamic interplay of light and shadow across the surface of each finished pillow. Sew the textured front panel to the plain backing fabric with right sides facing inward, inserting a hidden zipper along the bottom seam for easy removal. Turn the finished covers right side out, insert your pillow forms, and arrange them deliberately across your main sofa to elevate the tactile comfort and visual depth of your seating area.
Idea 4: Floating Fiber Art Tapestry
How to Create
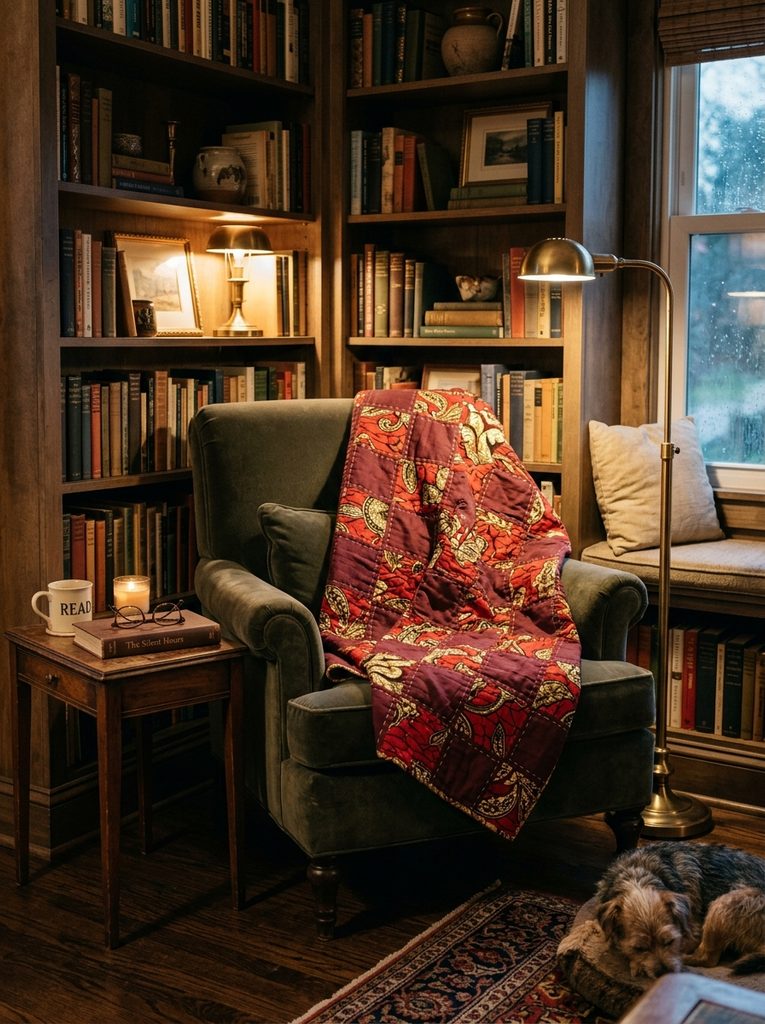
Building a floating fiber art tapestry requires suspending intricate macrame knotting and loose woven fringes between two parallel brass mounting rods for a modern sculptural effect. Secure a thin, polished brass rod at the top and bottom of your workspace, then attach multiple strands of natural cotton rope to the top rod using standard mounting knots. Execute a series of square knots and half-hitch patterns down the center of the hanging to create a structured geometric lattice structure. Allow the remaining cord ends to cascade freely below the lower brass rod, combing out the individual cotton fibers to create a soft, voluminous fringe base. Trim the bottom fringe edges into a sharp V-shape silhouette that adds directional movement and visual interest to the wall plane. This sophisticated project brings an airy, refined touch to contemporary apartments, serving as a lightweight art piece that breaks up monotonous wall spaces without demanding excessive visual weight.
Idea 5: Layered Table Runner Textures
How to Create
Constructing a layered table runner involves weaving narrow strips of raw silk and chunky wool yarn together on a simple frame loom to create a durable centerpiece accessory. Build a basic rectangular wooden frame and string tight vertical cotton warp threads from top to bottom at quarter-inch intervals. Pass a shuttle loaded with thick cream wool yarn horizontally across the warp to build a solid structural base, packing the rows down with a small comb. Intersperse shimmering bands of raw silk ribbon and earthy linen twine at random intervals to create a sophisticated textural contrast across the runner surface. Once the weaving reaches a length of seventy inches, carefully cut the warp threads from the frame and tie secure knot pairs to prevent unraveling. Fold the fringe ends inward and secure them with fabric glue or a clean machine stitch, then lay the finished piece down the center of your coffee table to anchor decorative objects and candles.
Idea 6: Basketry Storage Display Arrangement
How to Create
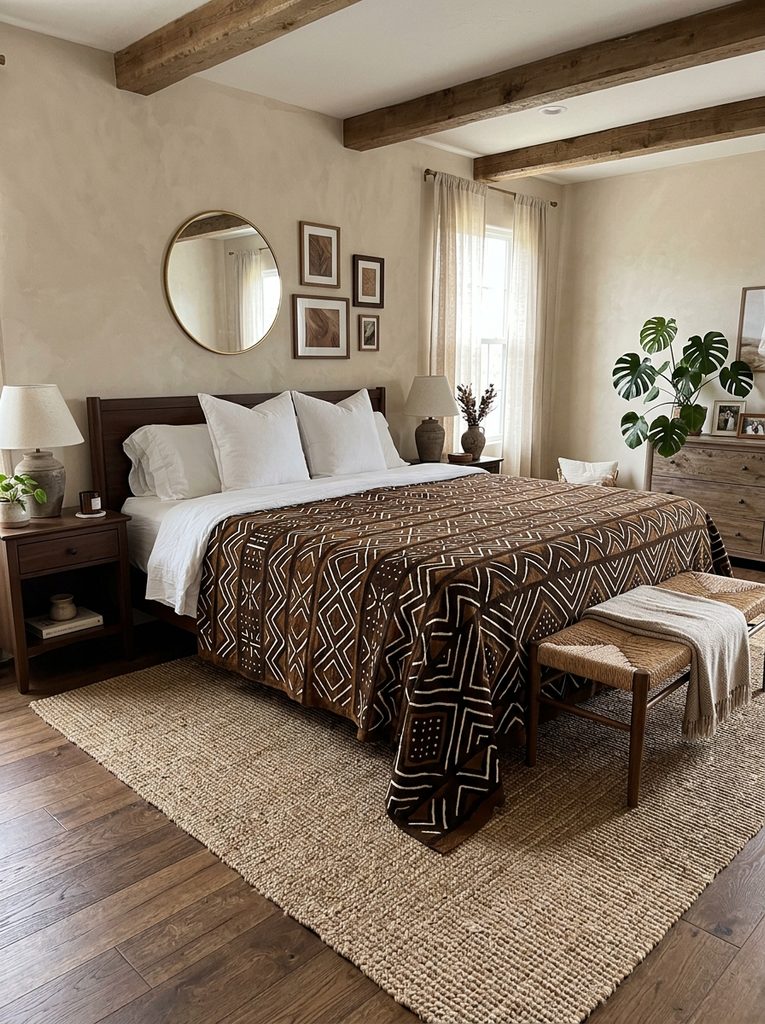
Forming a basketry storage arrangement focuses on utilizing coile-woven seagrass and rattan vessels to combine practical room organization with natural decorative charm. Select three distinct basket sizes with cylindrical and bowl profiles, ensuring the natural golden-tan fiber tones harmonize with your existing wooden furniture. Dampen the dry seagrass slightly with a spray bottle to increase flexibility, then hand-stitch thick structural coils using heavy-duty waxed linen thread to reinforce weak points. Mount the shallowest basket securely onto the living room wall as a flat textural wall disc, while positioning the two larger floor baskets beside your sofa. Fill the floor vessels with spare woven throw blankets and extra cushions to keep your living space tidy while maintaining an accessible, inviting atmosphere. This functional project delivers dual value by hiding everyday clutter inside beautiful handmade containers that double as sculptural art.
Idea 7: Interlocked Macrame Plant Hanger
How to Create
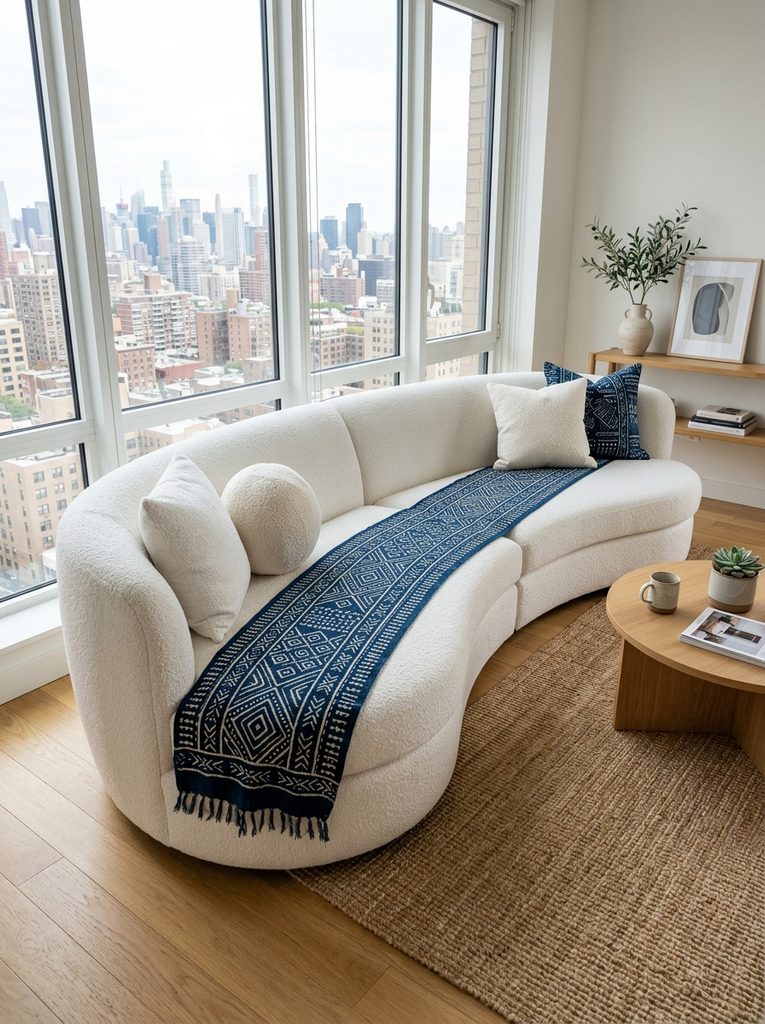
Fabricating an interlocked plant hanger utilizes intricate cord-knotting techniques to suspend greenery at varying heights, bringing vertical life into your living room design. Cut eight identical twelve-foot strands of four-millimeter natural cotton rope and bind them together tightly at the top with a heavy wrapping knot around a metal ring. Divide the hanging strands into four working groups of two pairs each, tying alternating square knots downward for a distance of eighteen inches to form a decorative spine. Create a secure basket cradle near the bottom by knotting adjacent cords together in a staggered web pattern designed to support a ceramic flower pot safely. Suspend the completed assembly from a ceiling hook near a sunny window, placing a trailing pothos plant inside the cradle to complete the organic display. This accessible project draws the eye upward, maximizing vertical spatial volume and integrating botanical elements with classic fiber artistry.
You Might Also Like

Idea 8: Asymmetric Loom Woven Panel
How to Create
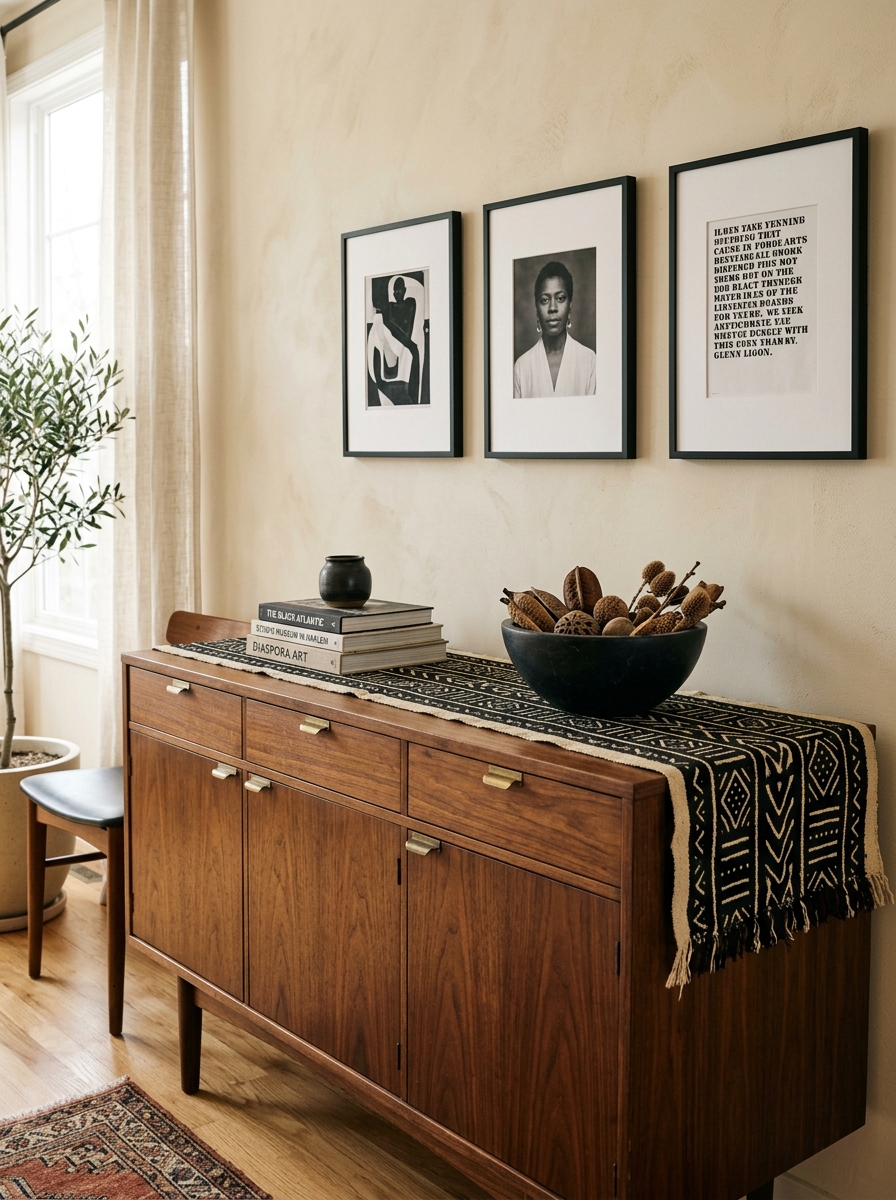
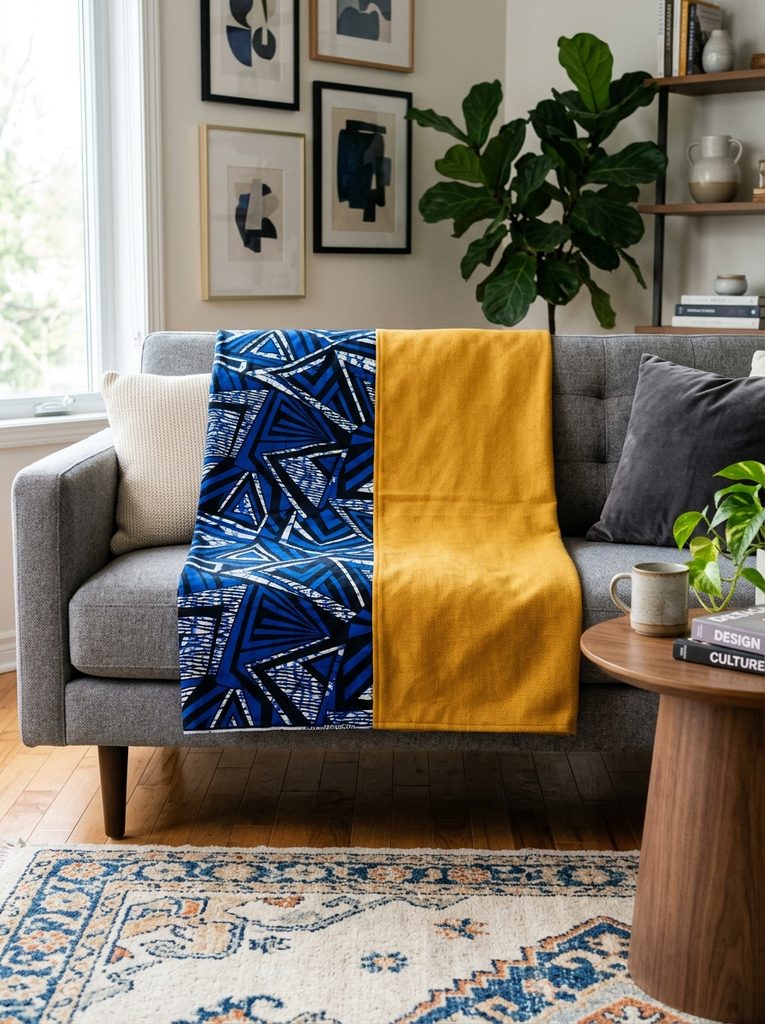
Developing an asymmetric loom woven panel explores unconventional color blocking and irregular shapes to craft a striking, modern statement piece for narrow wall sections. Set up a vertical frame loom with neutral cotton warp threads, ensuring the tension remains firm across the entire working width. Weave dense blocks of mustard yellow, charcoal gray, and raw cream wool asymmetrically, terminating certain color sections midway across the width to create dynamic stepped edges. Leave long loops of chunky yarn dangling freely from the sides of the weaving to introduce intentional texture and raw, unfinished character. Once completed, slide the entire woven panel off the loom and mount it directly onto a stretched canvas frame using clear fabric adhesive. Hang this unique art piece in a transitional hallway or beside a reading chair to introduce high-end gallery aesthetic appeal directly into your home environment.
Idea 9: Braided Jute Room Divider Screen
How to Create
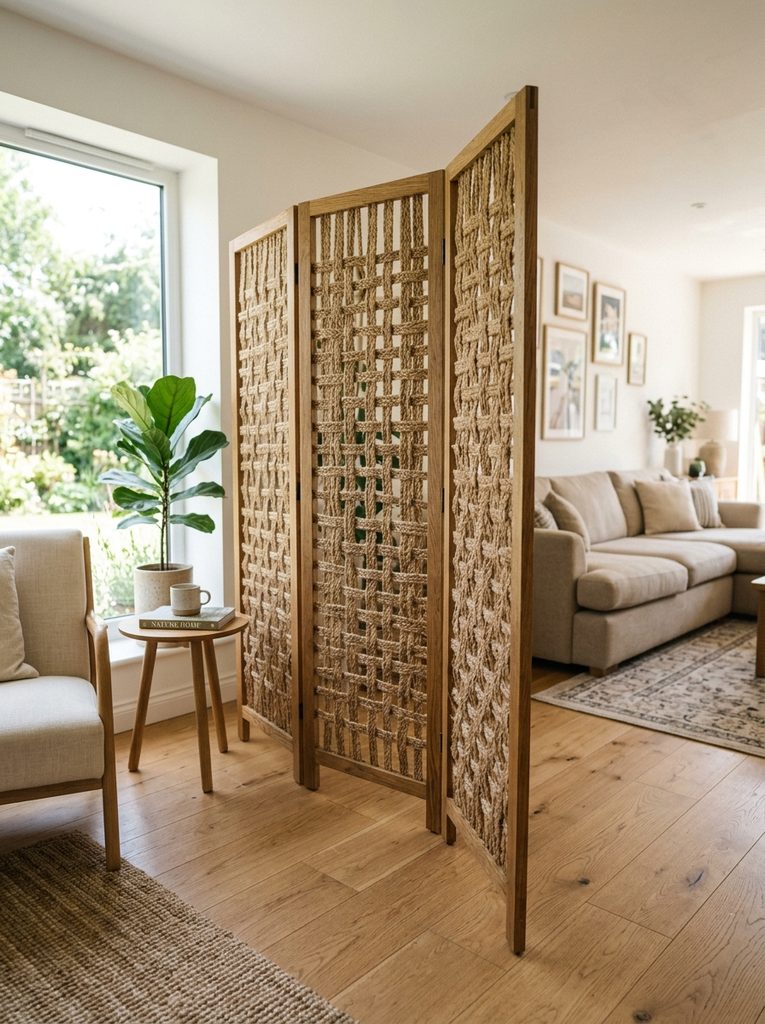
Constructing a braided jute room divider screen involves combining sturdy wooden frame panels with dense woven webbing to create functional, semi-private zones within open-plan living areas. Build three tall wooden panel frames using lightweight pine boards, sanding all surfaces smooth and finishing them with a clear matte protective sealant. Drill evenly spaced holes along the interior inner edges of each wooden frame to serve as anchor points for your weaving material. Thread thick braided jute rope continuously back and forth through the drilled holes, pulling each strand taut to form a tight, breathable woven screen mesh. Secure the vertical panels together using heavy-duty brass hinges that allow the entire screen to fold flat or angle gracefully across the room corner. This ambitious project provides practical spatial zoning for multi-purpose living rooms while maintaining a continuous flow of natural light through the woven structural pattern.
Idea 10: Mixed Media Fiber Garland Drape
How to Create
Assembling a mixed media fiber garland drape incorporates knotted tassels, wooden beads, and felted wool balls strung along a continuous twisted cord for versatile mantel decoration. Cut a ten-foot length of heavy hemp twine to serve as the main structural backbone for the decorative garland arrangement. Craft dozens of small wool pom-poms in various earthy tones, alongside wooden beads featuring natural grain patterns and hand-tied cotton yarn tassels. Thread each component alternately onto the hemp twine using a large upholstery needle, tying secure knots behind each element to maintain even spacing. Drape the finished garland gracefully across your living room fireplace mantel or along the upper edge of a large bookshelf to add subtle festive texture. This lightweight project offers a wonderful way to utilize leftover yarn scraps from previous crafting sessions, producing a charming decorative accent that can be repositioned easily whenever you want to refresh your space.
Common Beginner Mistakes and How to Avoid Them
Working with raw textile fibers and mounting heavy woven items often presents hidden technical challenges that can compromise the safety and finish of your interior projects. One frequent mistake is failing to calculate the weight of wet or dense wool pieces, leading to sagging wall hangings and pulled drywall anchors over time. Always secure heavy wall elements directly into wooden studs or use rated heavy-duty toggles designed for hollow wall installations. Another common error is pulling warp threads too tightly during loom preparation, which causes the finished weaving to warp, curve, or pucker uncontrollably once removed from the frame. Maintain consistent, moderate tension across all foundation threads and check your layout frequently with a measuring square. Additionally, avoid mixing synthetic polyester yarns with high-grade natural wool, as mismatched fiber elasticity creates uneven shrinkage during routine cleaning. Taking time to inspect your tension and mounting security ensures your handmade decor remains pristine and stable for years.
Practical Tips for Better Results
Achieving professional-quality results in fiber crafting relies on establishing clean workspace habits and utilizing proper finishing techniques throughout every stage of production. Always comb out fringe ends with a wide-tooth metal pet comb before giving them a final trim with sharp fabric shears to ensure a razor-sharp, uniform edge. When joining new yarn strands into a weaving project, leave three-inch tails tucked neatly along the backside rows rather than tying bulky knots that create unsightly bumps on the front display surface. Invest in a dedicated heavy-duty steaming iron to press your completed flat woven panels, as steam relaxes natural wool fibers and sets the weave structure permanently into alignment. Furthermore, keep your hands clean and free of natural oils while handling pale-colored cotton cords to prevent accidental staining during intricate knotting procedures. Implementing these professional workflows elevates your handmade accessories, giving them the polished appearance of luxury artisanal goods.
Styling, Presentation, or Organization Ideas
Thoughtful styling and presentation enhance the visual impact of your textile creations, transforming individual pieces into a cohesive, curated interior design statement. Layer a smaller woven wall hanging directly over a large abstract painting to create a striking multi-dimensional art installation on your main living room wall. In seating areas, drape your heavy wool throws diagonally across leather armchairs to soften the hard leather sheen and invite tactile engagement. Keep spare cushion covers and extra textile supplies organized in shallow under-bed storage boxes or labeled cotton canvas bins tucked neatly inside your media console. You can also rotate your seasonal textile pieces every few months, swapping lightweight silk runners for chunky wool blankets as the weather cools down. Maintaining this organized rotation prevents visual fatigue and keeps your living space feeling dynamic, fresh, and deeply connected to natural seasonal rhythms.
Budget or Time Planning
Creating custom textile home decor offers an economical way to elevate your living environment when you map out your expenses and schedule effectively ahead of time. A standard wall hanging or pillow cover project typically requires minimal raw materials, making it a budget-friendly alternative to purchasing mass-produced department store accessories. You can reduce material costs further by purchasing bulk cotton cord spools and utilizing leftover yarn remnants from local crafting groups for smaller accent projects. Time management is crucial for large fiber installations; allocate a dedicated weekend for major projects, dedicating the first day to material preparation and knotting, and reserving the second day for mounting and finishing. Breaking complex weaving or macrame tasks into manageable daily segments prevents physical fatigue and ensures high precision throughout the construction process. Strategic planning guarantees a rewarding creative journey that culminates in a durable, beautiful addition to your home.
Creative Expansion and Advanced Inspiration
Once you master fundamental weaving and knotting techniques, exploring advanced fiber arts practices allows you to push your creative boundaries and produce museum-quality statement pieces. Consider experimenting with natural botanical dyeing methods, using avocado pits, onion skins, or turmeric to color your own custom cotton cords and wool roving before assembly. Another advanced approach involves incorporating reclaimed metal piping, driftwood, or copper wire structures directly into your woven tapestry designs to create striking industrial contrasts. You can also study traditional Navajo or Scandinavian weaving motifs to deepen your technical vocabulary and apply historical design principles to modern home decor layouts. These advanced explorations empower you to express a distinct artistic identity while building an extraordinary collection of handmade textiles that infuse your living space with unmatched warmth, texture, and personal meaning.

Visual inspiration, practical ideas and editorial stories for everyday living.
Leave a Comment