10 Gothic Black And White Bedroom Ideas
Designing a gothic black and white bedroom offers a striking approach to modern interior design, combining high-contrast elements with architectural depth and delicate historic textures. Gothic design principles rely heavily on strong geometric lines, pointed arches, rich tactile contrast, and dramatic shadow play to create an immersive private sanctuary. This article provides a practical step by step tutorial for homeowners seeking structured inspiration to transform a basic sleeping space into an elegant monochromatic retreat. Readers will discover actionable methods for selecting wall finishes, balancing stark white highlights against deep charcoal and jet-black bases, and installing decorative trim work. By mastering spatial preparation, material choices, and layered lighting techniques, anyone can execute a realistic, beginner friendly home decor project that marries classic gothic drama with clean minimalist style functionality and long-lasting visual appeal.
Why This Idea Is Trending or Useful
Gothic black and white bedroom concepts are trending across modern Pinterest inspiration boards because they provide a sophisticated, gender-neutral aesthetic that maximizes visual impact without requiring complex color coordination. The practical value of a monochromatic scheme lies in its versatility; high-contrast palettes naturally structure a room, making small spaces feel intentional and large rooms feel cozy. Design relevance centers on combining traditional architectural details, like ornate moldings and damask patterns, with streamlined modern furniture shapes. DIY enthusiasts appreciate this trend because paint and fabric updates offer high transformational value relative to cost. Beginners can easily execute these creative project ideas step by step using readily available materials like peel-and-stick wallpaper, matte paint, and simple hardware, making the dramatic gothic look accessible to renters and homeowners alike.
Materials and Preparation
Successful execution of a gothic black and white bedroom makeover requires careful spatial planning and thorough material preparation before applying any paint or fasteners. Begin by assessing natural light levels, room dimensions, and existing wall conditions. Essential materials include matte black interior paint, crisp white satin paint, painter’s tape, wall anchors, and dark wood trim moulding. Necessary tools include a high-precision spirit level, tape measure, electric drill, paint rollers, and drop cloths to protect flooring during application. Planning considerations involve establishing a balanced light-to-dark ratio, ensuring dark walls do not overwhelm spaces lacking natural sunlight. Prepare all surfaces by filling nail holes, sanding rough areas smooth, and applying a dark-tinted primer on accent walls to guarantee smooth, even color coverage and professional paint adhesion.
Idea 1: Matte Black Board and Batten Wall with White Crown Molding Setup Method
Installing a matte black board and batten accent wall behind the bed frame creates a bold architectural anchor balanced by crisp white overhead trim. Measure the height and width of the headboard wall, using a spirit level to map out vertical pine battens spaced sixteen inches apart. Secure the wooden strips directly into the wall studs using construction adhesive and finish nails, countersinking the nail heads before applying dark wood putty over the seams. Paint the entire batten wall in a flat matte black finish to absorb light and create subtle shadow lines between the raised wood panels. Install wide wooden crown molding painted in a semi-gloss bright white along the ceiling junction above the black accent wall. This stark contrast draws the eye upward, highlighting ceiling height while providing a structured, modern gothic backdrop for light-colored bedding.

Idea 2: Monochromatic Damask Feature Wall with Low-Gloss Black Finish Step-by-Step Guide
A dramatic damask feature wall introduces classic victorian gothic pattern work using a modern tone-on-tone painting technique that subtlely reflects ambient light. Prepare the chosen focal wall by applying two uniform coats of deep matte black interior latex paint across the entire surface and allowing it to dry for twenty-four hours. Secure a large-scale victorian damask stencil flush against the wall using low-tack painter’s tape, ensuring the pattern aligns vertically with the ceiling line. Using a high-density foam roller, carefully apply a satin or semi-gloss black paint over the stencil cutouts to transfer the ornate pattern. Repeat this process across the wall, wiping the back of the stencil regularly to prevent paint bleed. The subtle sheen difference between the matte background and semi-gloss pattern creates an elegant, tactile wallpaper effect that shifts softly under room lighting.
You Might Also Like


Idea 3: Black Framed Arch Canopy Bed with Crisp White Linen Layers Execution Process
Integrating an arched black iron canopy bed provides a defined geometric structure that anchors the room while lightweight white linens keep the space open and airy. Assemble a tall black powder-coated iron canopy frame featuring soft gothic arch detailing along the top horizontal rails. Position the bed centrally against a bright white or light grey backdrop wall to emphasize the clean, dark outline of the ironwork. Dress the mattress with a fitted white cotton sheet set and layer a heavy white linen duvet cover over the top, allowing the fabric to drape neatly to the floor. Add two oversized black velvet toss pillows against the headboard for immediate depth and contrast. This setup method balances heavy architectural metals with soft, breathable textiles, establishing an inviting, high-contrast focal point that feels structured yet comfortably functional.

Idea 4: Cathedral Window Frame Wall Art with Integrated Backlighting How to Create
Custom cathedral arch wall panels crafted from dark wood bring sacred gothic architecture into a residential bedroom setting while providing functional ambient illumination. Cut thin plywood sheets into tall pointed cathedral arch silhouettes using a jigsaw, sanding the outer edges completely smooth before painting them in matte charcoal black. Attach thin decorative wood overlays to emulate traditional stained-glass window mullions across the front face of each arch panel. Mount energy-efficient warm white LED strip lighting along the rear perimeter channel of the wood panels using adhesive backing. Anchor the completed arch frames securely to wall studs on either side of the bed using heavy-duty flush mounting brackets. When illuminated, the concealed rear LEDs cast a soft, halo-like glow against the wall, outlining the gothic silhouette without casting harsh direct light into the room.

Idea 5: High-Contrast Wainscoting with Black Velvet Gallery Rails How to Make
Applying bright white lower wainscoting beneath a deep black upper wall section establishes a classic two-tone layout that visually stabilizes dark decor elements. Install beadboard or picture-frame wainscoting panels across the lower third of the room’s walls, finishing the trim with a durable satin white paint. Paint the upper two-thirds of the walls in an ultra-matte jet black shade to create a dramatic contrast above the chair rail. Mount a slim black aluminum picture rail horizontally along the top edge of the white wainscoting rail. Hang thin black picture frames containing monochrome architectural photography or vintage botanical sketches from the rail using black velvet ribbons tied into neat vertical lines. This layered display technique breaks up expansive dark wall surfaces, introducing personalized art while maintaining strict color discipline across the room.

Idea 6: Black Stained Hardwood Floor with High-Gloss White Persian Rug Setup Method
Refinishing bedroom flooring in a deep ebony stain creates a sleek, grounding base that highlights light-colored furniture and floor textiles. Sand existing hardwood floors down to bare wood before applying an oil-based black wood stain evenly across the floorboards using a lambswool applicator pad. Once dry, seal the surface with three coats of clear satin polyurethane to protect the finish from daily foot traffic and wear. Position a large, low-pile white Persian-style rug featuring subtle black geometric line work beneath the lower two-thirds of the bed frame. The stark white woven textile creates immediate visual isolation against the dark floorboards, defining the sleeping area while introducing soft underfoot comfort that prevents the dark floor from making the bedroom feel visually cold or uninviting.
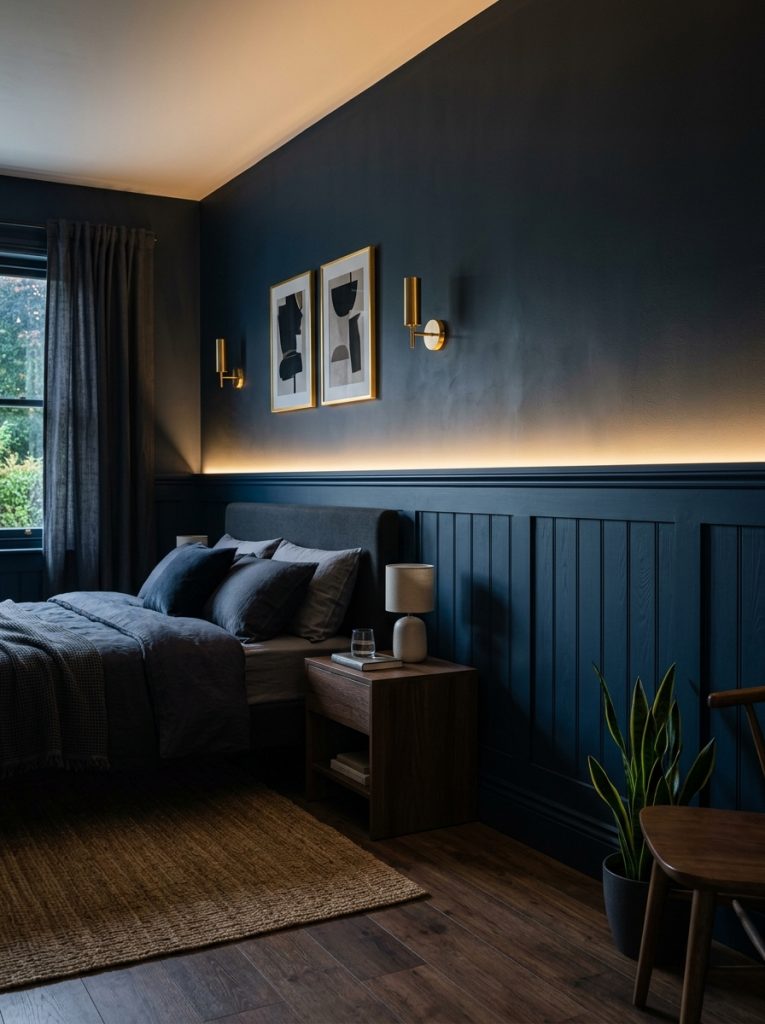
Idea 7: Gothic Pointed Headboard Upholstered in Black Tufted Velvet Step-by-Step Guide
You Might Also Like


A custom-built tufted headboard featuring a pointed gothic arch shape serves as a luxurious, tactile anchor for a high-contrast bed arrangement. Trace a tall pointed arch silhouette onto a sturdy three-quarter-inch plywood panel, cutting the profile out accurately using an electric jigsaw. Glue a two-inch layer of high-density upholstery foam over the plywood front, wrapping the foam in polyester batting for added softness. Stretch deep black velvet fabric tightly over the padded frame, securing the material to the rear plywood face using a heavy-duty staple gun. Create deep diamond tufting across the front surface by pulling upholstery buttons through drilled pilot holes, tying them off securely at the back. Mount the finished headboard directly to the wall studs behind a low-profile white platform bed frame for a dramatically tailored look.
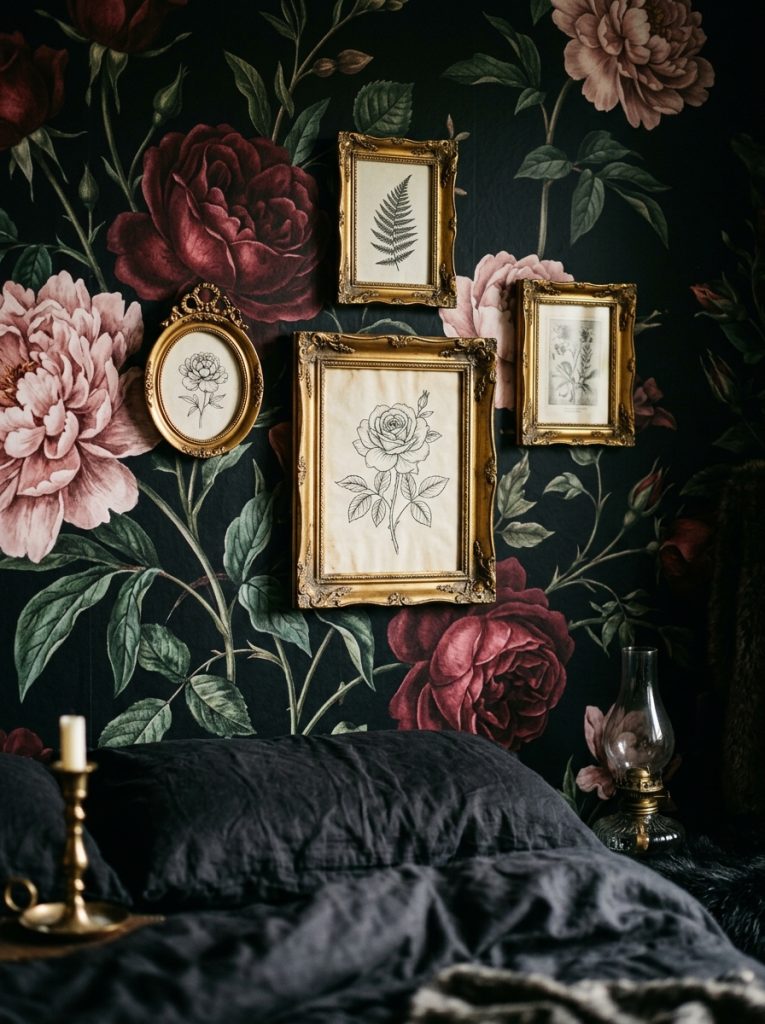
Idea 8: Matte Black Ceiling with Hanging White Opal Glass Pendant How to Create
Painting the bedroom ceiling matte black lowers the perceived vertical dimension, creating an intimate, canopy-like atmosphere illuminated by a contrasting white light fixture. Cover the floor completely with heavy canvas drop cloths and mask off the top edges of the walls using painter’s tape. Apply two smooth coats of flat matte black ceiling paint using an extension pole and a thick-nap roller to eliminate glare and hide minor surface imperfections. Replace standard ceiling fixtures with a vintage-inspired hanging globe pendant made from frosted white opal glass suspended by a black cord. The matte dark ceiling absorbs ambient light, while the glowing white glass sphere acts as a striking moon-like focal point that distributes soft, shadow-free illumination evenly across the upper half of the bedroom space.

Idea 9: Monochrome Layered Window Treatments with Black Iron Hardware Execution Process
Dressing bedroom windows in dual-layer black and white fabrics allows precise light control while reinforcing the room’s high-contrast aesthetic theme. Mount a double black iron curtain rod high near the ceiling line, extending the rod six inches past the outer edges of the window frame to maximize perceived width. Hang sheer white linen drapery panels on the inner rod to filter natural daylight during morning hours without sacrificing privacy. On the outer rod, hang heavy black velvet or thick cotton blackout curtains that extend all the way to the floor plane. Secure the black outer drapes with decorative black iron tiebacks during the day to frame the crisp white sheer fabric underneath. This layered window treatment adds physical depth, enhances insulation, and offers complete light control for rest.

Idea 10: Charcoal Velvet Accent Seating with White Marble Table How to Make
Creating a dedicated reading nook using dark velvet upholstery and white stone accents adds functional luxury to unused bedroom corners. Position a plush, low-profile accent chair upholstered in deep charcoal or black velvet into a well-lit corner of the room. Place a small, round end table featuring a white Carrara marble top and a slim black iron tripod base directly beside the chair. Style the marble tabletop with a matte black metal reading lamp, a ceramic white coaster, and a stack of hardbound books with dark spines. The white marble surface provides a clean, cool contrast against the dark plush fabric of the chair, converting an empty corner into an organized, ergonomic nook that seamlessly supports the room’s overarching gothic design theme.

Common Beginner Mistakes and How to Avoid Them
A frequent mistake when designing a gothic black and white bedroom is relying entirely on flat, untextured surfaces, which can make the space feel sterile rather than cozy. Avoid this by layering distinct tactile materials, such as combining matte paint, glossy wood, plush velvet, and crisp woven linens within the same view. Another common error is using harsh, cool-toned lighting, which turns white elements clinical and makes dark paint appear washed out. Always opt for warm white LED bulbs with a color temperature between 2700K and 3000K to maintain a soft, inviting atmosphere. Additionally, failing to balance dark and light proportions can make small rooms feel claustrophobic; ensure white or light grey surfaces comprise at least forty percent of the visual space to maintain open, comfortable room dimensions.
Practical Tips for Better Results
Achieving a polished look in a monochromatic bedroom relies on precise paint application and careful material testing. Always use high-grade painter’s tape to achieve razor-sharp paint lines where black and white surfaces meet, pressing the tape edge down firmly with a putty knife before painting. Apply dark-tinted primers under black paint coats to reduce the number of finish coats required for total opacity. When buying fabrics, test swatch samples inside the bedroom under both daytime sunlight and evening lamp illumination, as synthetic black dyes can sometimes display unwanted navy or green undertones under artificial light. Maintain crisp white textiles by choosing washable, durable linen or cotton fabrics that withstand routine cleaning, ensuring your light contrast elements remain bright and fresh over time.
Styling, Presentation, or Organization Ideas
Maintaining an organized layout is essential in high-contrast bedrooms, as clutter easily disrupts clean geometric lines and visual balance. Utilize hidden storage solutions, such as platform beds with integrated under-bed drawers or dark upholstered storage ottomans, to keep extra bedding out of sight. Organize nightstands deliberately using black ceramic trays or white marble dishes to group daily items like charging cables and reading glasses into tidy arrangements. Keep decorative styling edited and simple; display items in groups of three, pairing contrasting elements like a white ceramic vase alongside a black-bound book and a brass candle holder. This disciplined approach to organization preserves visual structure, ensuring the dramatic gothic aesthetic remains serene, intentional, and clutter-free.
Budget or Time Planning
Planning a gothic bedroom project efficiently requires establishing a clear execution schedule and allocating funds toward high-impact elements. Paint offers the most cost-effective transformation, making wall updates the ideal starting point for budget-conscious decorators. Allocate one weekend to complete all surface preparation, taping, priming, and painting, allowing full drying times between coats. Focus your purchase budget on core furniture pieces like a sturdy bed frame and quality mattress, while sourcing decorative accessories, picture frames, and small side tables secondhand. Thrifted wood furniture can easily be repainted in matte black or distressed white to suit the room’s aesthetic at a fraction of retail cost. Completing structural painting first and styling textiles second keeps the project manageable, preventing fatigue and budget overruns.
Creative Expansion and Advanced Inspiration
Once the foundational black and white elements are established, consider extending the gothic aesthetic into adjacent spaces like walk-in closets or ensuite bathrooms. Paint interior closet doors in matte black with polished chrome or antique crystal hardware to maintain visual continuity throughout the suite. In adjoining bathrooms, install white subway tile with dark charcoal grout lines paired with matte black plumbing fixtures for a seamless transition. Consider adding custom architectural features, such as installing a faux fireplace mantle painted in jet black against an accent wall, filling the hearth with white pillar candles of varying heights. These advanced design additions elevate a basic bedroom into a fully developed home retreat that celebrates timeless architectural drama and modern comfort.

Visual inspiration, practical ideas and editorial stories for everyday living.
Leave a Comment